


Total Basset Case: Rustoleum Cabinet Transformation
Showing posts with label Rustoleum Cabinet Transformation. Show all posts

Sep 2, 2014

You Would Have Thought...

...that with an extra day off this weekend I would have managed to get a blog post up.
Instead we were...

....attending beer tasting night with our neighbors.  I took wine in my Wine2Go...genius contraption.
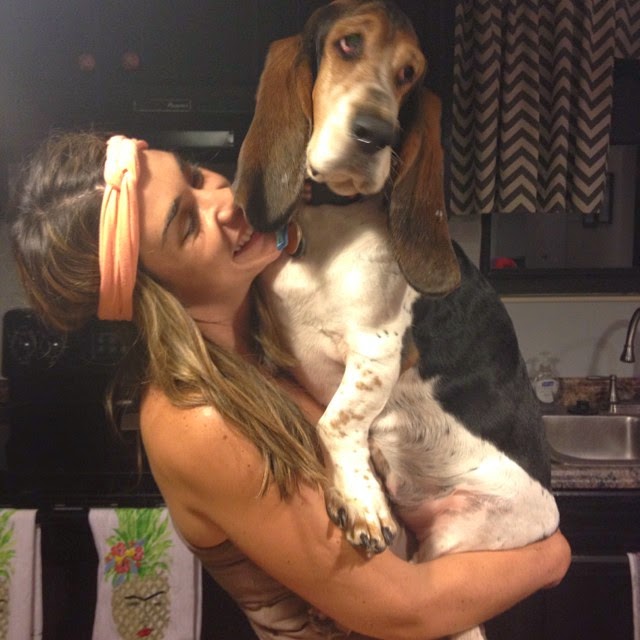
 ....embarrassed Floyd
...ran 9 miles Saturday morning
...refinished my vanity, mirror and medicine cabinet
...hung out at our friends pool
...grilled out
...hit up some Labor Day sales
...lazed around and napped
...drank coffee and browsed around the mall with Mister
...splurged on ice cream - totally hurt my belly but it was totally worth it
...made homemade pesto and then pesto chicken salad #sogood
...bothered Floyd some more #fritopaws
...attempted ro run and got poured on
...listed a million things on eBay.  If it's not nailed down, it's going on eBay...
...binge watched Orphan Black (anyone else watching this show??)
...and bothered Floyd even more
...and had such a relaxing weekend that my phone (i.e. alarm) died Monday night and Floyd was so zonked that he didn't wake us up for breakfast either.  Nothing like jump starting a day in a panic but yay for short weeks! 

Aug 5, 2014

DIY : Vanity Transformation {Rustoleum Review}

It's been on our list to update Mister's bathroom for awhile now.
And when a friend gave us their leftover Rustoleum Cabinet Transformation kit, we jumped at the chance to start the makeover!
Taking it one step at a time, we decided to start with his vanity.

I had heard how easy these kits were but I didn't believe it until I saw it.
Well, folks, now I'm a believer!
This process really couldn't have been easier and we are super pleased with the results.
But to appreciate the after, let's take a good look at the before...
BLECH.
Sorry Mister but I sorta hated your vanity.
P.s I've talked about it before, but just to clarify, Mister and I have separate bathrooms.
It's very beneficial and wonderful for my sanity and our marriage.

The Process:
The kit clearly spells out the steps and the time you must wait between each step (there's even an informational DVD).
Honestly, the waiting time is the most annoying part of the whole process.
1.  The deglosser goes on.  Be sure to wear gloves for this step.  And scrub your brains out to get all the gunk and grime. Wait at least 1 hour.
2.  Get to paintin!  I think next time I will do the first coat a bit thicker.  After this coat, you have to wait 2-3 hours to do the 2nd coat. 
3.  After the second coat dries 2-3 hours, it is time for the top coat.  This coat is thick, goopy and fast drying.  You must work quickly with this coat to avoid it getting hung up in the corners and edges.  Be prepared to work fast on this coat.  
The kit suggests to let the top coat dry at least 12 hours
4.  Add your hardware! I picked up these pieces at Lowes.
Ta da!

And possibly the most important step, make sure you have an attentive helper close by.
Keep up the hard work, Floyd.
