Yesterday I showed your our new headboard and how we are sorta like real adults now with bedroom furniture.
We still don't have close to coordinating nightstands but I'm currently googling Ikea hacks to come up with some ideas to transform mine.
Moving on, let me preface by saying this was just about the easiest and definitely the cheapest DIY I've done in a while.
As I said, the door was free and I had a coupon for a free sample jar of paint from Lowes, so, also free.
All I paid for were the D rings and picture hooks to attach the door to the wall.
I'll walk you through the process via photos. It's a pretty self explanatory DIY.
One thing to note, I went with a 'dry brush' technique for the paint. Meaning I used all of the paint on the brush in wide, big strokes before I dipped it back in the paint. I didn't want a solid/fully painted look, I wanted a bit of a rustic and incomplete look.
After the door was dry I brought it inside and measured it on the wall behind our bed.
I calculated how far from the ceiling I wanted it to hang down and measured so that the middle of the door was in the middle of the bed.
I opted to use D rings on the back of the door to attach the door to picture hooks from the wall. Because the door is not very heavy, I wanted the easiest route to hang the door from and wanted to make sure it would lay flat against the wall.
For reference, our door is 80" wide.
I measured in 12" from each side and 8" from the top to place the D rings.
I did not want to place the rings too far down or too close to the middle of the door so that, again, it would lay flush and not bow. I was afraid if I placed the rings closer to the center the door with tilt forward.
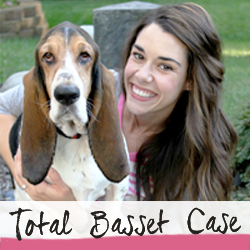
Pierre was incredibly helpful with these measurements
Then it was time to measure on the wall and hang the hooks.
This took a bit of math but I conquered it and had Mister help me hang it up!
We still love it and it hasn't fallen our heads yet so I'd say it's a win win.


5 comments:
Haha I'm glad it hasn't "fallen on your heads" yet!!! It is SO awesome!!! Love the way it turned out.
I'd say it's a total win if it doesn't fall on your head!
You are a crafty little thing (especially with you bassett helpers! Love the DIY;)
love the dry brush technique & thank goodness it hasn't fallen on your heads! haha
LOL!!! Keeping my fingers crossed it doesn't fall!! Too funny! Regardless, it turned out perfectly!! So fun!! Glad Floyd was such a great helper!!
Post a Comment